Friday, October 31, 2014

Traveling through a dream

I've talked about this project I've been working on a few times and its been slowing me down on other projects. But now its done!  And I am now free to talk about the materials that were used and show my work off. The biggest rule of this project was to not share anything that came in the box; the whole point is for it to be a surprise for anyone who orders one.


Before I ordered mine I had to think long and hard because I'm a photographer and didn't know if I would be able to work with the materials provided. I am however good at coming up with an idea and working on it to make it happen. All my Halloween decorations are proof of that. 

It was like Christmas morning when the package arrived. The worst part was that I couldn't share the contents with anyone.


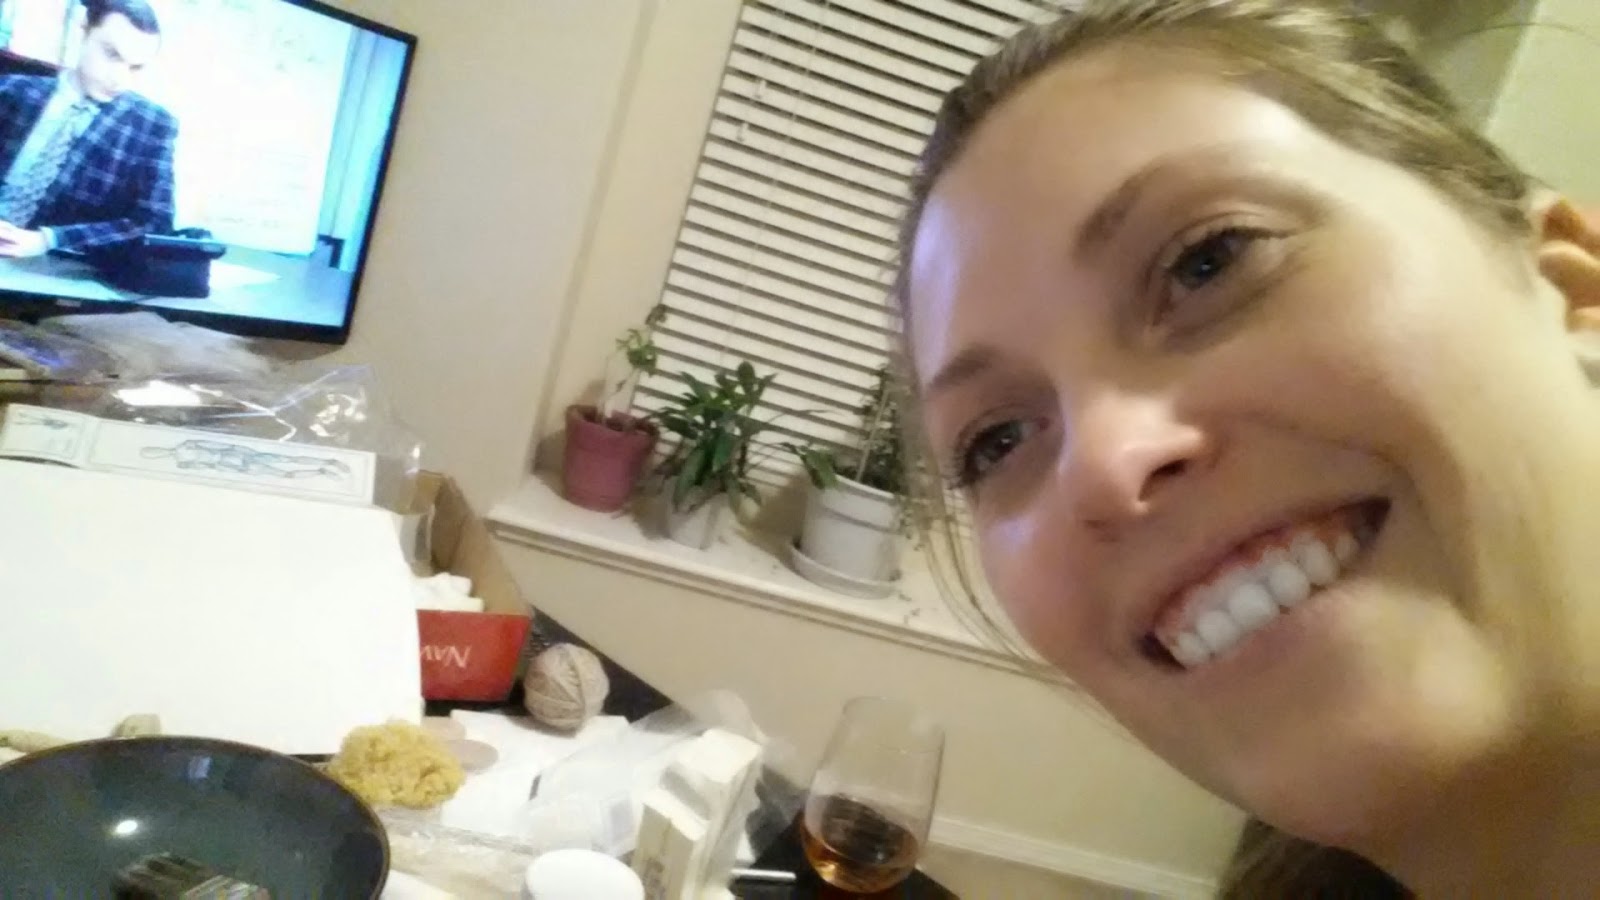
I started making a plan for the vision I had and knowing what I had to work with was shaping that plan. At first I had time, there was no rush so I thought about it and worked on it every once in awhile. Until October hit then it was time to get moving, the due date was the 20th. Most of my work was done the week leading up to the due date. I used wine and big bang to get through.  I submitted the project the day it was due and am now waiting for the voting to start.


Now that I've finished the project for 2014 I'm already thinking about getting the box for 2015. If you're interested come check it out.

Voting is open!!!  Please come vote for my project!  I'm #229 "Traveling through a Dream."  Vote for me!

Tuesday, October 28, 2014

Close up Nature

For me finding photography contests is the best way to push my work farther.  Every couple of months Focal Press does a contest.  September - October's theme is Close up photography in nature, check it out.  I love being out in nature so I'm in!

While I was out taking nature photos I was thinking of different ways to be creative.  Which ones do you think I should enter into the contest?


Tuesday, October 21, 2014

The TV Setting

Now that you've learned about the aperture mode on your camera its time to try out the TV (time value) mode.  This setting gives you control over the shutter speed.  Why is that important you ask, because you can decide if a moving object will be blurred or not.

The shutter speed is written like this 1/500.  The larger the number the faster the cameras shutter sill open and clos, which creates stop-motion.  A good example of this is photos of moving water.  When you see a photo of a waterfall or a river and it looks like its not moving the photographer used a fast shutter speed; for example 1/1000.  Here is an example of fast and slow shutter speeds.


The first image was taken with a shutter speed of 1/10 and the second image used 1/1250.  As you can see the image with the slower shutter speed the moving objects are blurred.  Where as the image with the faster shutter speed has stopped the motion of the water.

This is not the setting I choose to use but there are times when its needed and comes in handy.  My favorite time is when I'm photographing runners or any fast moving sport and water.

The best thing to remember is practice helps you understand when is the right time to use it.  Now its your turn.  Can't wait to see what you come up with.

Tuesday, October 14, 2014

Popsicle Puzzles of the family

Its craft time again. My best friend is coming to town and bringing my niece and nephew. So I figured I could make something that could entertain them, even if its just for a little bit.

The craft this time is a puzzle. I've made two different types, one with Popsicle sticks and one like a regular puzzle. I went with the Popsicle sticks because of the age of the kids. 


My first step was to pick photos, I printed mine on regular paper. I gathered the Popsicle sticks, scissors, mod podge, a brush, some thin cardboard (I used a trisket box), and an xacto knife.  

I cut out the photos and cut apart the box (so that it would lay flat). I laid out the Popsicle sticks on the image to make sure i had enough out. Now its glue time. Brush some mod podge on the back of the photo and start laying sown the sticks (I worked in sections). Once the back is covered with sticks turn it over and brush a thin coat on the front to seal the photo in.

For the image on the box, I brushed mod podge in the area that the photo was going to be placed.  Then gently laid the image on the glue and smoothed from the center out (this will remove the bubbles).  Then I brushed a coat over the top of the image.  To make the back look nice add some scrap book paper to it, then trim off the extra cardboard.

Now that you have let everything dry over night its time to start cutting.  Cut between the popsicle sticks with the xacto knife, you may have to brush on another coat of mod podge once they are apart.  On the full page one just draw the puzzle shapes you want and cut them out.

Now go have some fun!!

Friday, October 10, 2014

The AV setting

I would like to encourage all of you out there to take your camera out of Auto and try one of the manual settings.  To encourage this I am going to walk through the different settings and how they work.  The camera I'll use for the example is a Canon EOS 5D Mark III.


Today we will start with the AV setting.  Do you see it on the dial bellow?


This is the setting I use the most.  It puts me in control of the Aperture (f-stop) and allows the camera to decide which shutter speed to use (more on that latter).  Both of which control the amount of light allowed to reach the "film," each in its own way.

In high school we learned our f-stops with our hands, still to this day when I explain f-stops to someone I use my hands.  Here's how it works, make the smallest circle you can see through with your thumb and pointer finger, that is the equivalent of f22; it allows in a very small amount of light.  Then make the biggest circle you can with both of your hands, that is the equivalent of f1.4; it allows in a lot of light.


Having control of the aperture allows you to control what is in focus and what is not, or the depth of field.  Here is an example of a small and large f-stop.


The first photo was taken with and f-stop of 1.8, while the second was taken at f22(this is the form f-stops are written in).  You can see the difference between the two photos (besides one being of a drink and one a landscape).  On the first photo I have shown you what is important by selecting what to focus on.  Where as the second photo everything is in focus, there for I want you to see the whole area.  These examples are quit different in subjects but its just to get the point across.  Changing the f-stop allows the photographer to decide what is important and make it be in focus.

All of this will allow you to have more creative control of your images.  Get out there and experiment!

Coming up next, the TV setting.

Tuesday, October 7, 2014

Beautiful Tuesday

Thanks for joining me on this beautiful Tuesday. Enjoy these photos!  


Share your photos with us. 

Friday, October 3, 2014

Still have slides

There I was out looking for topics to write about for this month and I came across this DIY project.  What a great way to take your old slides and turn them into usable photos with very little cost.  I know some of you still have those slides hanging around.

slide-convertor1

What to know how to make this contraption?


See how here. 


Let me know if you made this and how it worked out for you.